
GearTalk: a Hiking Trip to the Peak District
My last GearTalk was on the equipment I took with me on a two month epic journey round South America. Obviously, the needs for a four day hiking trip in England’s Peak District are very different and I was keen to come up with a more streamlined solution. There was to be no ‘basecamp’ on this trip so I would be carrying everything, the clothing and the camera gear, on my back whilst going up hill and down dale. The Evok CP 26l that came with me to South America is an extremely comfortable photo backpack and has a great day-pack area for things like rain gear, a warm layer, possibly some snacks, but not much else. This makes it extremely suitable for single day excursions when you know you’re heading back to wherever happens to be ‘home’ but not so good when needing to be on the go for a few days.
What I was looking for was a proper backpack, specifically designed for hiking, that would also allow for easy-ish access to the camera gear, preferably in its own compartment. Since I was flying in from Helsinki to Manchester, I also wanted to avoid the delay of putting my bag in the hold so needed something that would pass as carry-on luggage. With these parameters in place, I set out to do my research, found what was available to try out here in Finland, and settled on this beauty:
Deuter Futura Pro 42 (from Varuste) – I knew that Varuste stocked a wide range of Deuter bags and I had read good reviews about them re comfort and durability. What first drew my attention to this bag was the separate bottom compartment and the fact that the inner padding from my older Think Tank Wired Up 20 camera bag (sadly discontinued but fantastic for a working day on the go) fitted perfectly inside. With my Feisol carbon fibre tripod strapped to the side and my lenses safe in the now-padded compartment, I had all the rest of the bag just for my hiking gear, a quick list of which would look like this – rain gear, thin down jacket, merino base layer, silk-merino mix sweater, 2 x Uniqlo HeatTech turtleneck tops, light summer sleeping bag, toiletries, underwear, socks, and a change of smarter clothes, including a pair of travel black shoes, for the evening (many pubs in the Peak District serve excellent ale but not every pub wants a bunch of muddy hikers piling in! Fair enough). Add in the usual odds and sods like headlamp, sun hat, sunglasses, water bottle, a Kindle,… in the various side pockets, and you’ll have a pretty clear picture of my set-up. I also checked out the Deuter Future Pro 36 but decided that, with only about 1cm difference in height, the larger capacity 42l bag is virtually the same size when all the straps are pulled tight. Fully loaded, the backpack came in at about 12 kilos. I was a little worried about the bag being allowed on as hand luggage, so I carried a small ‘handbag’ loaded with the camera and a couple of lenses whilst going through customs, which kept the weight down to under 10 kilos. I cruised through, no problem.
(Update 07/07/2020: I just checked Deuter’s site and noticed they’ve discontinued the 42l version, with the range now going from 36l to 40l, then 44l. My guess is that the 40l would be the bag I would choose now.)
Having now got back from my trip, I can safely say that the bag came through with flying colours. Weight distribution is excellent and I had no discomfort from the bag when walking all day, just my own tired muscles. There is only one thing I’d like to point out. The Aircomfort system is fantastic for keeping air flowing and the heat from building up on your back but you need to be aware that the curve this causes in the main frame may get in the way with packing certain solid items. If you need to have something like a laptop with you, don’t choose this bag. For me, I bought this bag for the specific task of hiking with my camera gear over a long weekend when there was no need to be editing. I have other bags for when I need to have a laptop with me. Something I still have to find out is whether the bag would fit the extra gear needed when going on a camping trip, specifically a tent, mattress, cooking gear, food and water. My heart tells me ‘no’ but you never know how much can be fitted on the outside until you try. I’ll report back but I expect that something with a larger capacity will be needed for camping trips. Just like cameras, there’s never a perfect bag for all scenarios.
Think Tank Digital Holster 10 (from Studio Varustamo) – with most of my camera gear tucked away in the backpack, I still like to have easy access to my camera, so I have this bag strapped to my front. It carries my Sony A7R2 with attached lens snuggly and, when the bottom of the bag is extended, I can fit a second lens in the base. Just remember to have a blower in a handy pocket to keep the sensor as dust free as possible for as long as possible when changing lenses. Another solution would be to have a zoom lens with a long reach but, with the kind of stuff I like to shoot, I have the time to spoil myself with primes.
I’ve talked about my camera gear in previous articles so won’t go into too much detail here. Here’s the gist of it:
Sony A7R2 – I use this for my professional and casual work, in the studio or on location, tethered or to card, and can only say great things about the quality of the files coming off this sensor. I have the buttons customised to the point that I rarely need to access the menu during a shoot and am extremely comfortable shooting with this beast. Sure, it takes time to get used to a new system but nothing wrong with that, just get to know your tools, properly. Anyone who complains about the menu system has not put in the time to get passed the initial maze and is not seeing the bigger picture. For what I shoot, it’s a great camera.
Re lenses, I prefer autofocus for the work I do and so I go for lenses that are designed specifically for Sony’s FE system. With ‘face recognition’ and ‘Eye-AF’ set to custom buttons, I know that the camera is going to nail the focus pretty much every time.
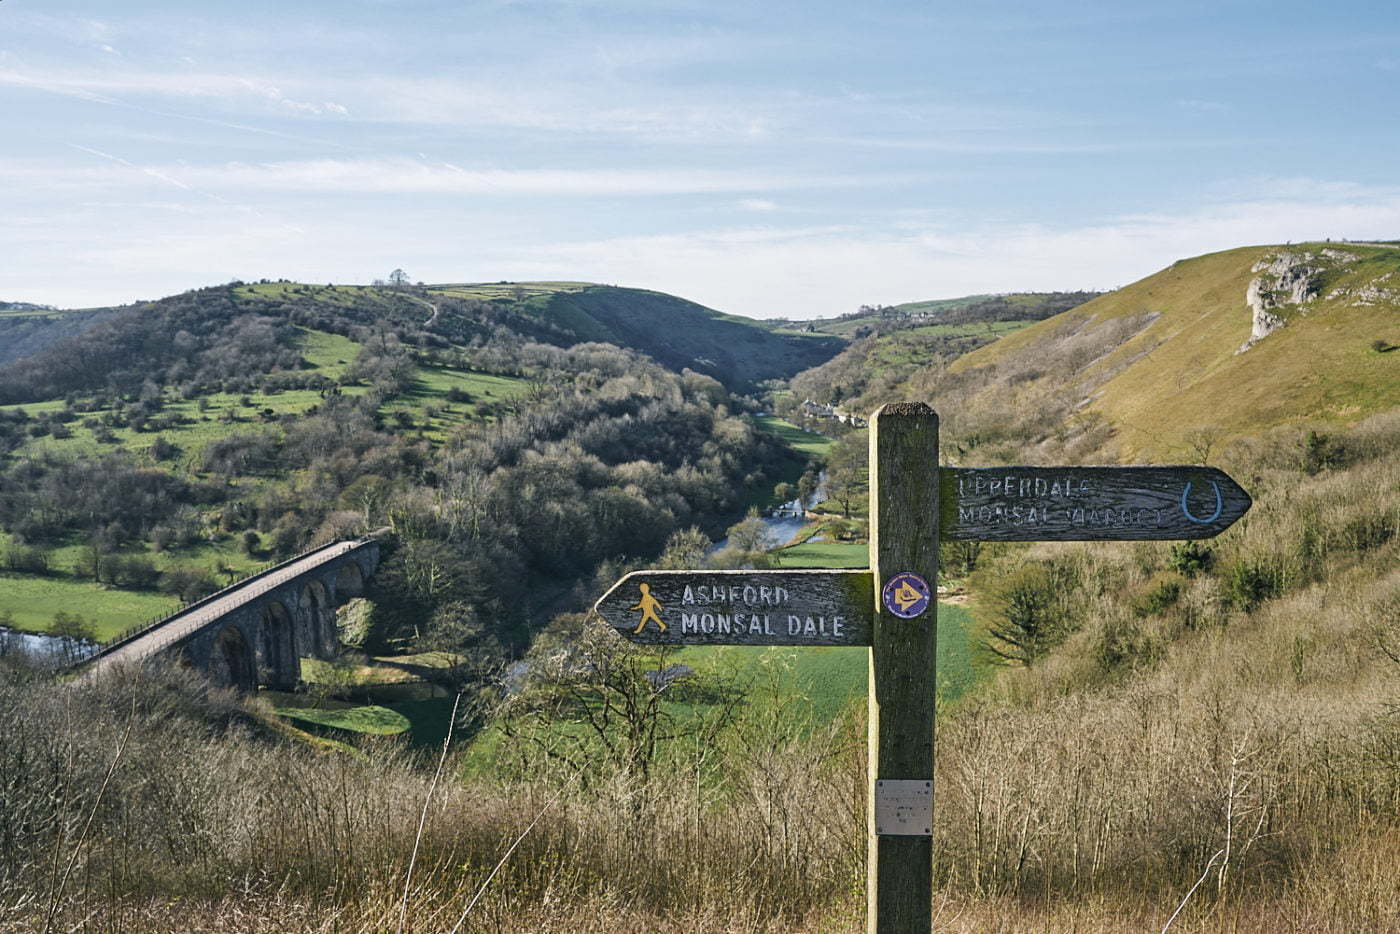
Zeiss Batis 25mm F2 – this is the newest lens in my kit bag and the widest. There’s a lot of info out there on this lens and what you hear is true, it’s very, very good. Again, because I shoot mainly people in my work, I don’t like to go too wide, and it would be extremely rare for me to need anything beyond 25mm. Photographers who do landscape, architectural, astro-…, may like to have a lens in their bag that goes even wider but not me. Anything wider starts to look too unnatural and forced, to my eye.

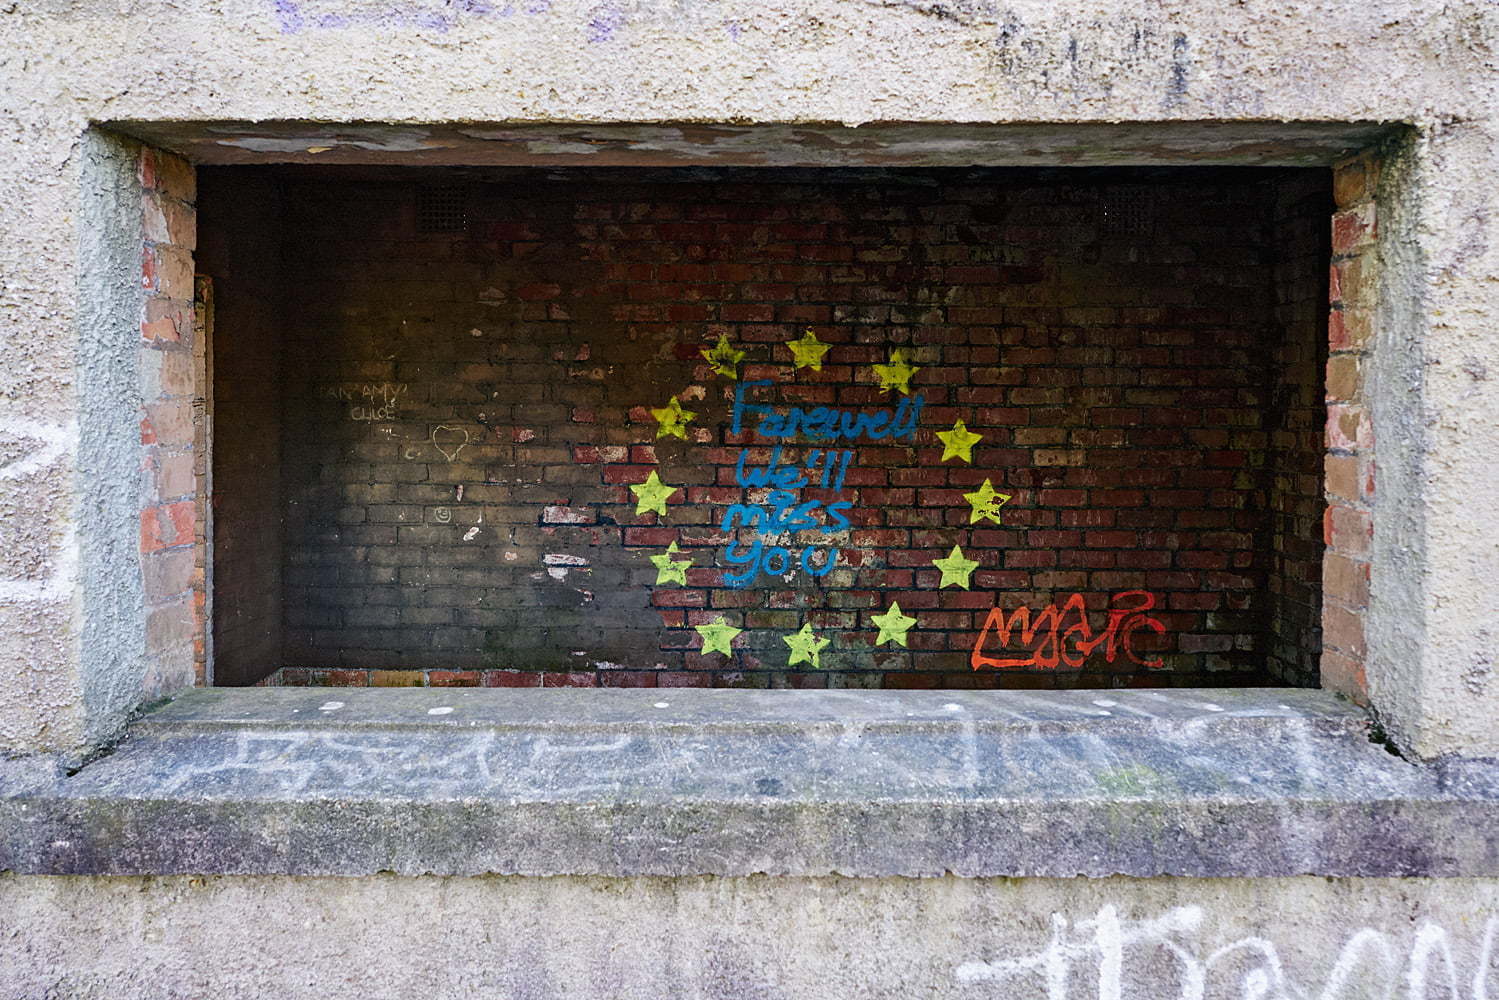
Sony A7RII : f/4.5@100th : ISO 640 : EV 0.0 : FE 25mm f/2
This image of a rundown shelter on the Monsal Trail, with its topical sentiment on ‘Brexit’, gives an excellent indication of the capabilities of this lens (as well as of the dynamic range of the sensor!). I had to be slightly above the centre point of the ‘window’ frame so as to get all the EU stars in shot, which meant that the left and right edges were not running parallel to the image frame. There was also a very slight curvature in the top and bottom lines. It took about 30 seconds to adjust and correct these two elements when I opened the Raw file in Capture One, using the Keystone and Distortion tools respectively. The final result has little to no distortion, which is what I want and expect from all my lenses, even when they are wide.
On a side note, I’ve also become a bit of a fan of using styles in C1 recently and finally settled on the Original and Extended sets from here. They may seem expensive but have become an important part of my workflow. After making some basic tweaks to an original file, I then add specific styles to the clone variants of the original, as many as I think bring something of interest to the shot. For this particular shot, I think I processed about 4 different variants, combining them all in Photoshop, masking the elements I like from each one and then adding sharpness and grain to the final image back in C1. Whereas previously I would have done all these tonal adjustments within Photoshop, taking much more time in the process, I can now do the majority of these adjustments on the Raw file and then quickly combine the various variants when I process the image. Apart from saving time, I’ve also noticed that it has taken my retouching towards a much wider ‘palette’. No matter how much you may think otherwise, it’s very difficult not to pick up certain repetitive habits when retouching and using these styles has allowed me to see what can be done to an image outside of my normal visual box. One of the variants will usually be similar in tone to the original, then the rest will go off in different tangents. I surprise myself sometimes with what I end up with, in a good way.
Sony FE 35mm f/2.8 – I had the f/1.4 version when travelling round South America and, optically, it was good but, since 35mm is a focal length I use a lot when out and about, I just never could never get over how big the lens is. There was no way I could be unobtrusive with so much glass on the end of my camera. When I got back, I replaced the lens with the f/2.8 version and have been extremely happy. It may not open up as wide (rarely an issue for me with a 35mm focal length) but it is small and incredibly sharp, which suits my needs better.
Sony FE 55mm f/1.8 – I love this lens, not just because of its relative compactness, but also because of how sharp it is. It is my go-to lens for portraiture, rendering amazing detail from all that resolution to be found on the A7R2’s sensor, and then having that lovely shallow depth of field when I need it. Personally, and irrelevantly, I find that I rarely shoot portraits on this focal length at a wider aperture than f/2.8 as I find that the sudden drop-off in what’s in focus gets too much of my attention when I go beyond that, which is not what I want from a portrait. Sometimes, I just want the eyelashes sharp and the eyebrows not to look like totally out of focus smudges above them! The only thing that I wish the lens would do is focus a little closer. This is not an issue when shooting portraits but it is such a great walkabout lens, like the 35mm lens above, that there are several occasions when I find its limit of 0.5m focusing distance to mean that I can’t frame a detail shot how I’d like. One solution would be to get the Sony FE 50mm f/2.8 Macro to use as my walkabout lens and keep the 55mm for portraits (the slow focus speed of the 50mm would make it irritating to use for this) but then that’s just going to make my decision on what lenses to be taking with me even harder. Decisions, decisions. Here’s the final image I took at the train station whilst waiting to be whisked out of the Peak District and back to Manchester. I admit to a bit of digital manipulation to the text on one of the signs, again for socio-political reasons related to ‘Brexit’!
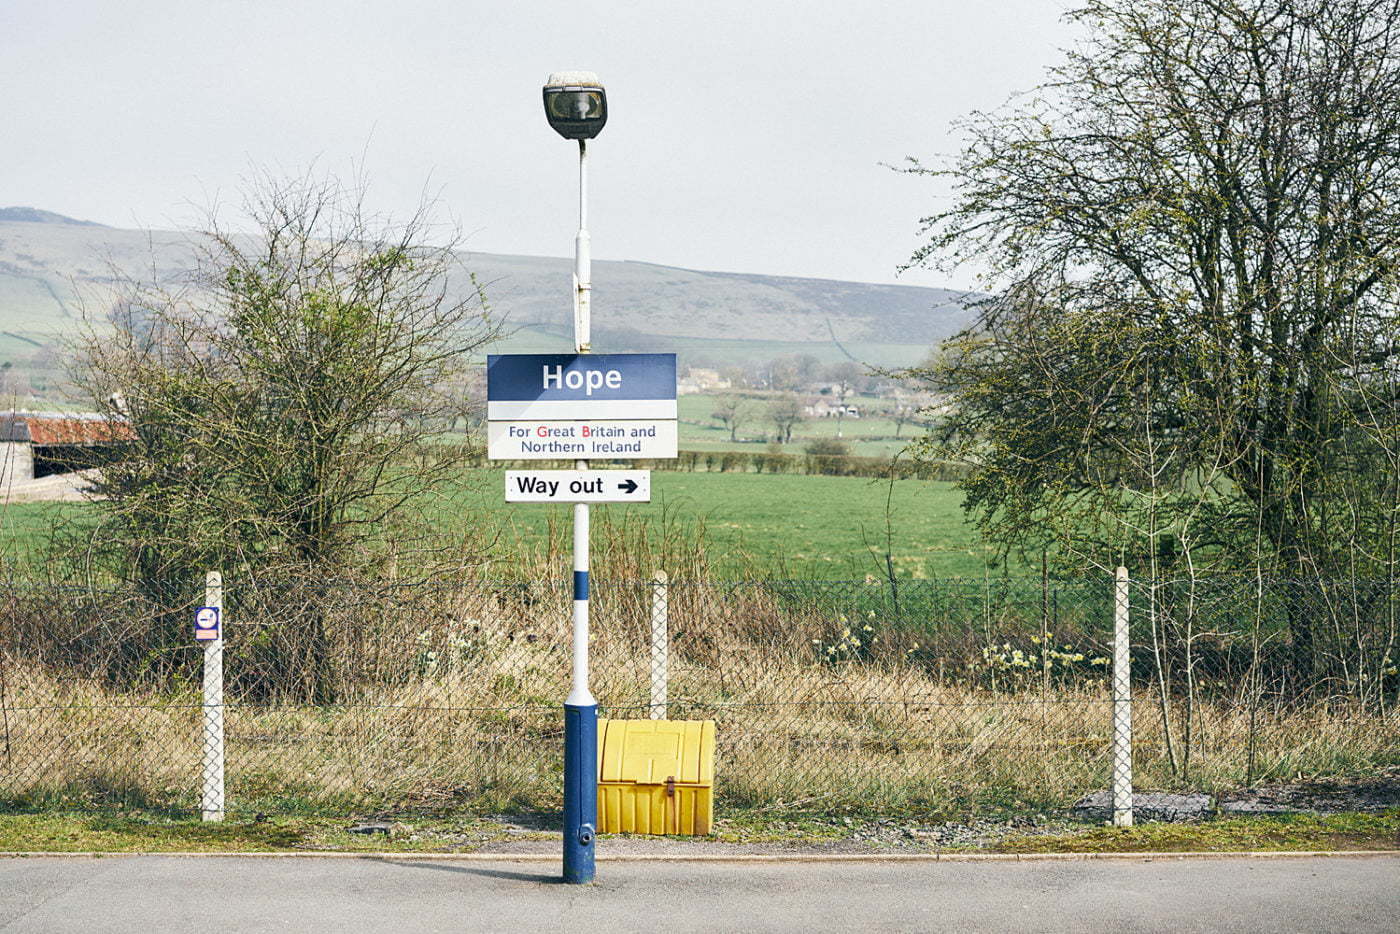
Sony A7RII : f/3.5@1000th : ISO 160 : EV +0.3 : FE 55mm f/1.8
Sony FE 90mm f/2.8 Macro – A well designed macro lens that is easy to use in the field, with its quick AF / Manual release, a focus distance selector to help focusing speed when shooting either macro or not, and built-in stabilisation. Reviews all tell you how sharp this lens is across the whole sensor, even wide open. I also want to add that it’s great for portraits. Just remember to use face recognition and Eye-AF. And when you set the focusing distance parameters, you won’t have any problems with focusing speed and the results will be gorgeous! For the same reason as with the 55mm, at this focal length f/3.2 is usually the widest I like to go when shooting portraits. You may wonder why I mentioned the 50mm macro when I have this lens in my bag. For me, a 90mm is not a focal length that lives on the camera; that would be either the 35mm or 50mm and so I have to have a specific shot in front of me to get this lens out of the bag and put it on the camera. And then I swap back to one of the other lenses. Each to their own.
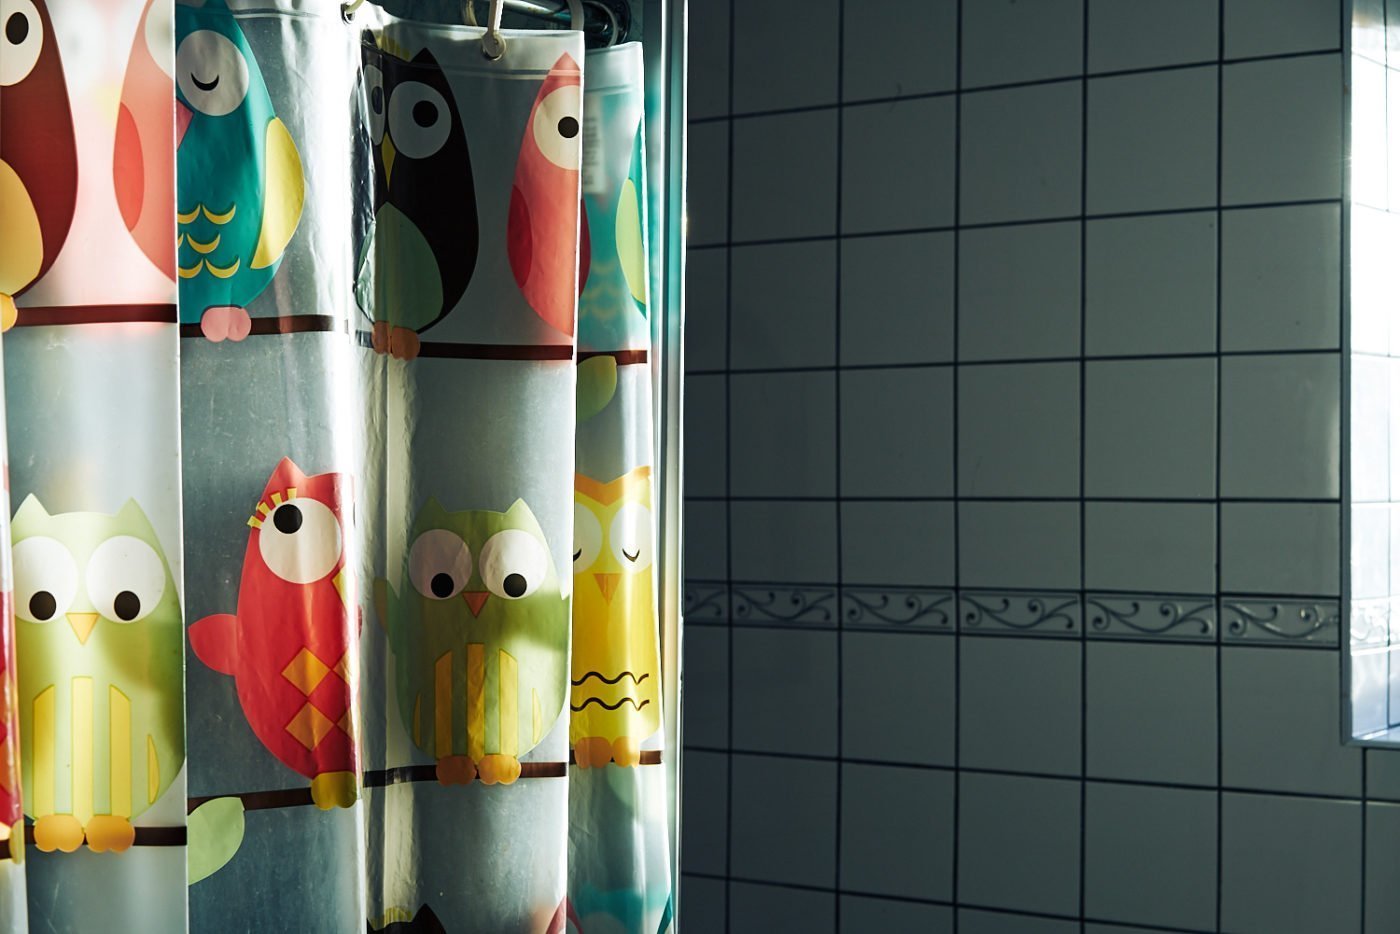
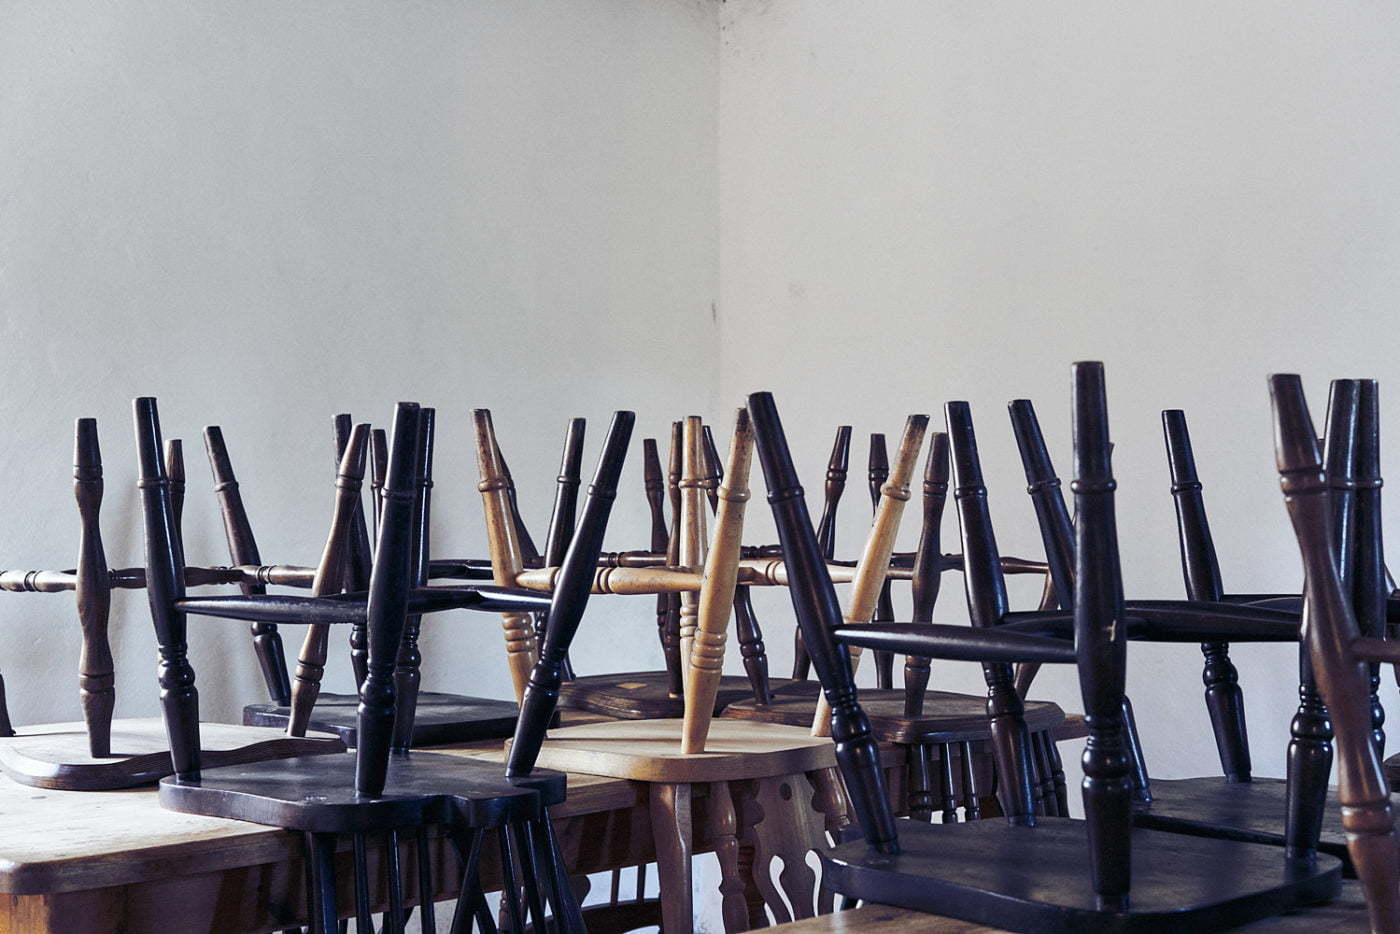
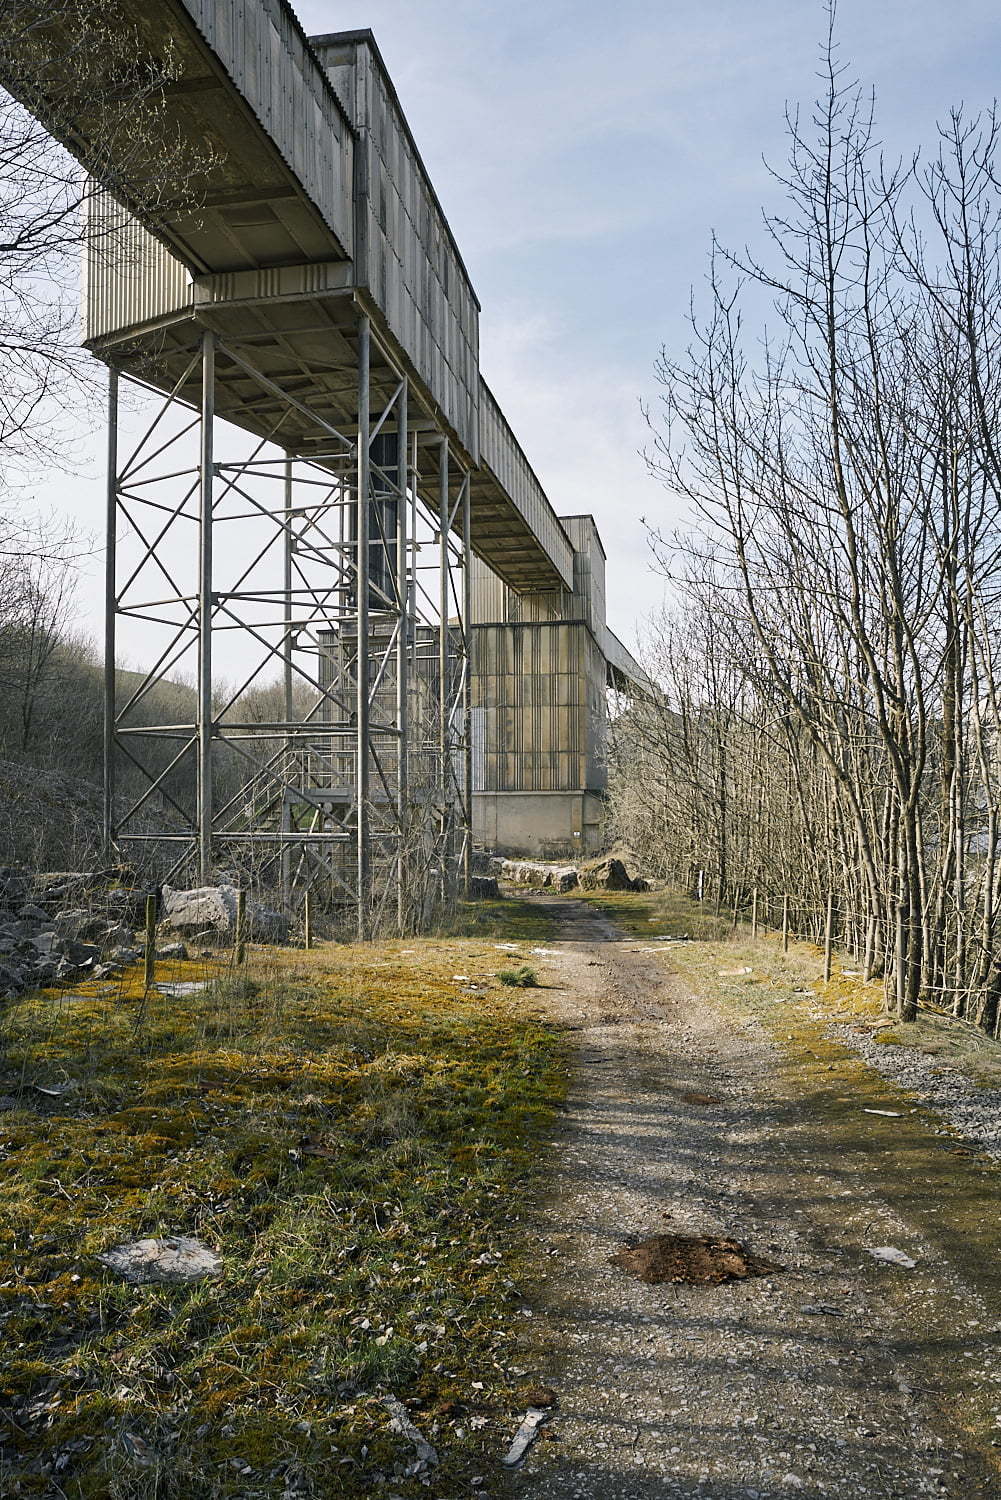
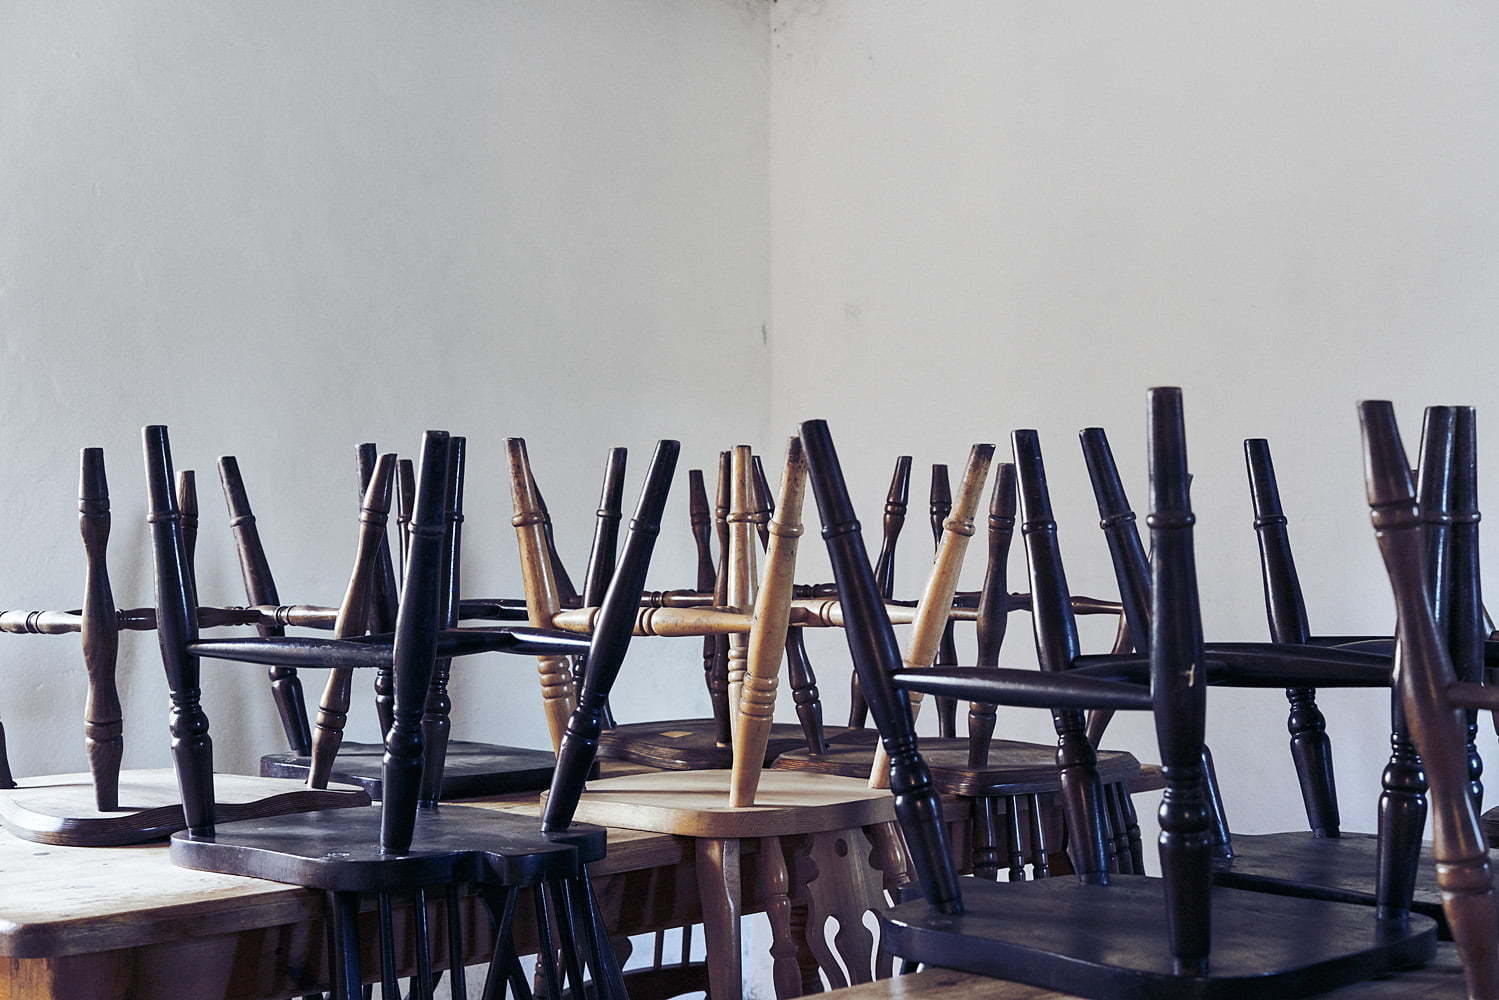
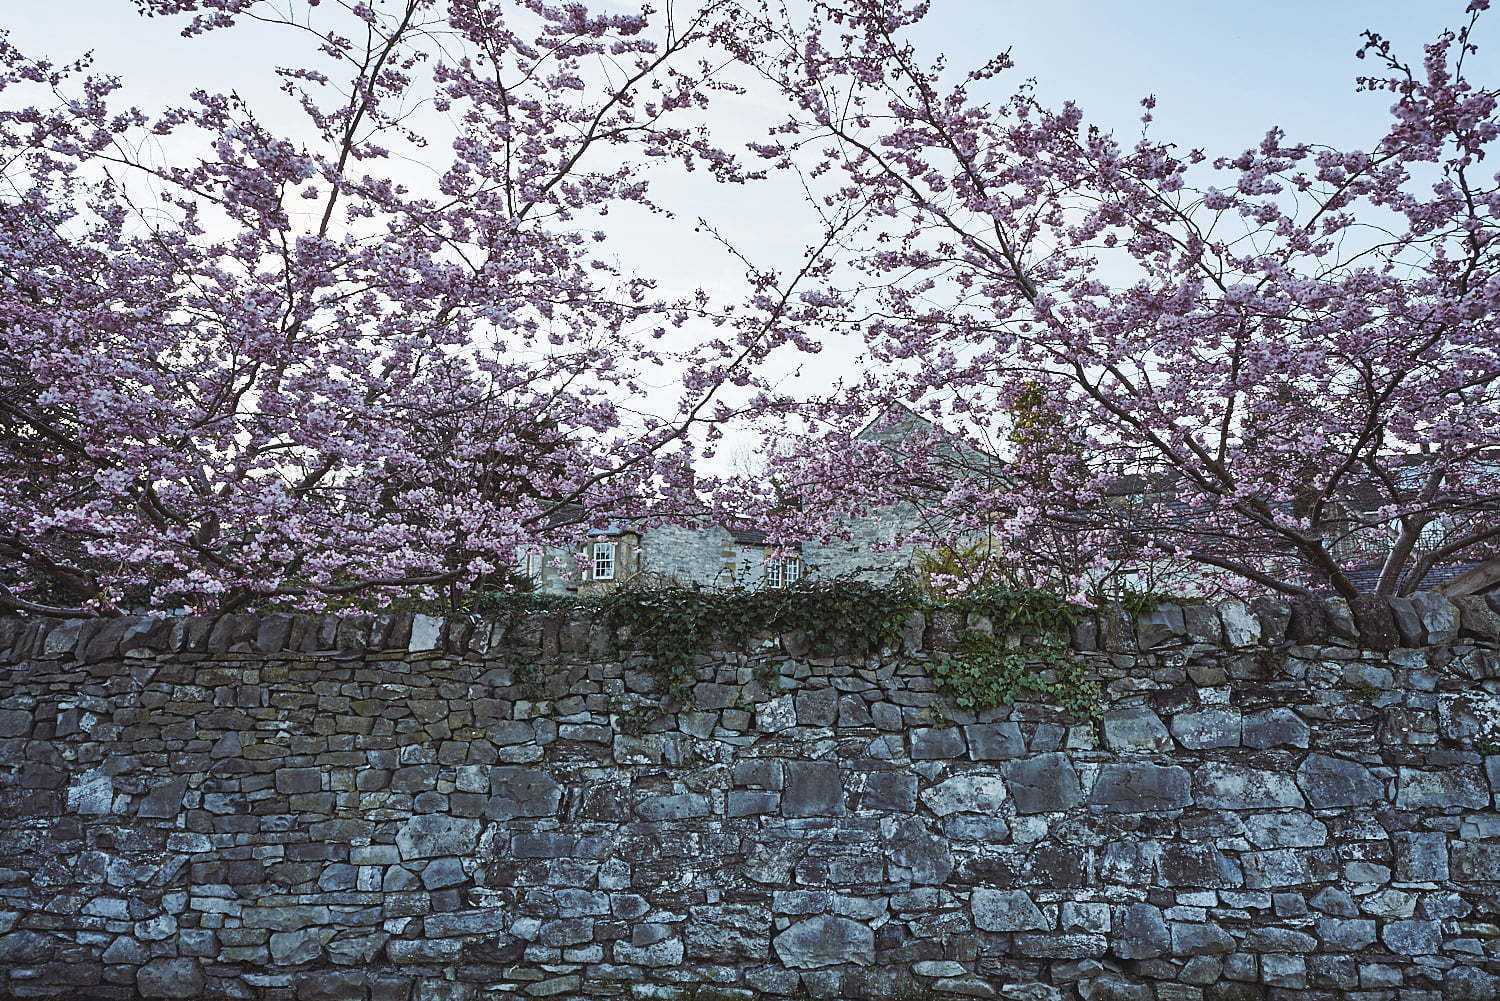
And that’s about it for what goes in my kit bag, at least when preparing for a hiking trip to the Peak District. A gorgeous part of the world, that I did not do justice to at all photographically as we were a group of five males celebrating a friend’s 50th birthday and the whole trip was more of an extended pub crawl, enjoying various excellent ales and mountains of food, interspersed with long hikes to help with our digestion before arriving at our next watering hole. Highly recommended! And here’s a few more images, just for the hell of it, ranging from a hostel’s very cold shower room way too early one morning, the breakfast room, a typical wall in a typical village, to a footpath beneath a massive mining structure…


Comments are closed.
